
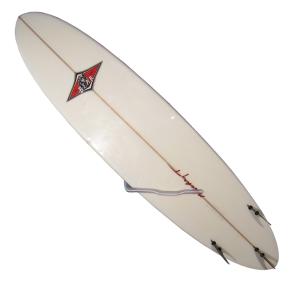
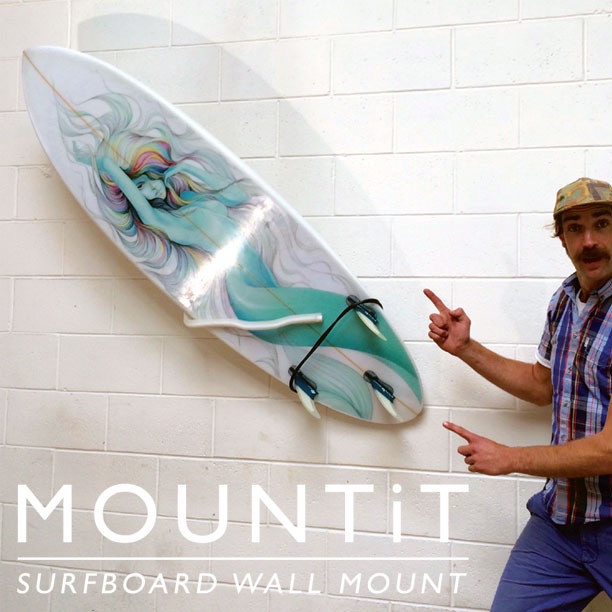
Surfboard turning it into artwork a seriously cool 3D piece of equipment to have on your wall.
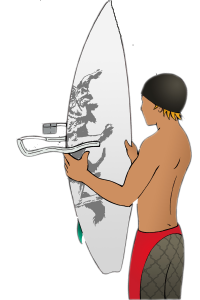
Fitting a surfboard into your MOUNTiT is simple. Insert the board into the centre point of padded arm, adjust the angle of the board and lower the board’s weight. When the board is lowered and engaged with the padded arms, you will be able to display or store your board securely at the angle desired.
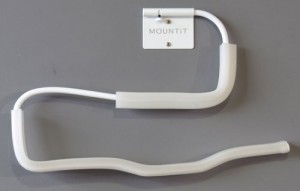
Wall stud fixing for surfboards, just two screws
The lightweight and fresh design aesthetic makes MOUNTiT ideal for the home, garage, beach house or apartment. Made from engineered cold-bent steel with rubber tubing grip, MOUNTiT is purpose built to be durable, secure, and easy to install on any desired wall.
You won’t find anything else that parallels MOUNTiT for its sleek design, effective storage and multiple display options for displaying your board.
MOUNTiT Features:
• Mounts any surfboards to any wall.
• Protects boards from damage.
• Easy to install (two screws only).
• Suitable for all surfboards up to 10kg.
• Turns surfboard into a design feature.
• Multiple display options.
• Maximises storage space.
 Specifications:
• MOUNTiT is designed to hold Shortboards, Mini-Malibus and Longboards.
• The maximum load for a surfboard in the MOUNTiT is 10kg.
• MOUNTiT can be installed on any wall.
Each product includes: 1x MOUNTiT
2x screws
2x plastic raw plugs.
How To Install The Surfboard Mount
Locate the middle of a timber stud when fastening MOUNTiT to a standard plasterboard wall. Use a concrete or masonry drill bit if securing to a concrete or brick surface.
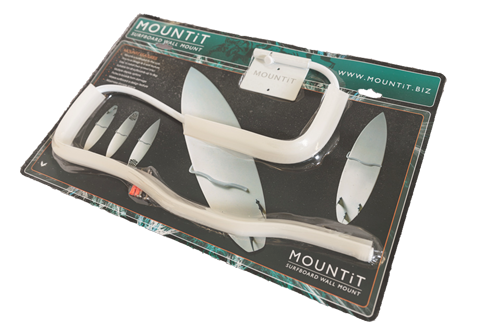
*****Use the picture guide on the back packaging to explain heights.
To be used as a guide only-will depend on the individual height of ceilings.
1. Select a desired location. Allow space on either side of MOUNTiT to allow operation and angling of the board.
2. Select the height of the bracket in relation to the length of your board. (See diagram).
3. Mark the top hole for the bracket.
4. Drill top hole using a 6mm drill bit, 40mm deep and insert plastic raw plug.
5. Temporarily screw MOUNTiT to the wall using the top hole.
6. Place a level on top of the bracket and adjust until it is level. Mark the bottom hole point with a pencil.
7. Unscrew MOUNTiT from the wall.
8. Repeat step 3 for bottom hole.
9. Line the bracket up to the holes and screw MOUNTiT on tightly.
10. MOUNTiT is ready to mount your board!
surf rack for garage
surf board decoration homemade surf rack
Operating MOUNTiT:
1. Lift the surfboard up and place in between MOUNTiT’s padded arms.
2. Adjust surfboard to achieve the desired display angle.
3. To engage: push the surfboard onto the back pad and lower the board down until the front arm holds it in place.
4. To increase the hold, gently push the surfboard down.
5. Ensure the largest surface area of the arm pads is in contact with the surfboard.
Secure Option:
With the surfboard in place and pressure applied, reach behind and locate the securing knob on the bracket. Tighten the knob to secure MOUNTiT’s hold on the board.
Use of this securing knob is optional: it acts as a tamper-proof device to keep the board safe.
Removing The Board:
Loosen the securing knob before removing the board. Put both hands on the board, lift up and slide out.
WARNING: Do not alter MOUNTiT from its existing shape.
NOTE: Keep MOUNTiT’s padded arms and the side of board contacting padded arms free of wax at all times.
DISCLAIMER:
Do not use MOUNTiT for anything other than intended use.
MOUNTiT LTD assumes no responsibility for any damage, personal or otherwise, caused by MOUNTiT.


.png)
